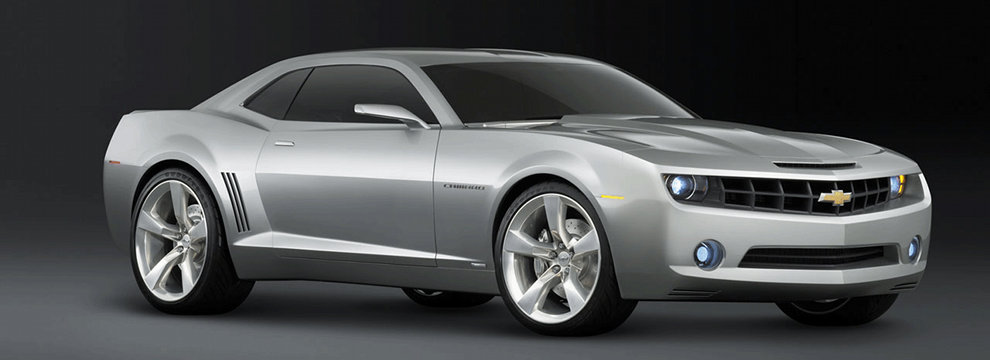
Hood Removal and Installation
If your hood is scratched, dented, bent from a collision, or rusted, maybe it's time to think about replacing it. You don't have to buy new. Salvage yards often will be able to fit you with a hood for your car, SUV, van or truck that fits perfectly. And it should, because most likely it is from the exact same vehicle as yours.
You can also buy a new OEM or aftermarket hood from any number of reliable parts dealers. Comparison shop in order to get the best price, warranty, availability and service.
Consult a repair manual for specific instructions related to your vehicle on how to replace and install a hood. Below are some general instructions. Always remember: safety first.
Before installation, you may want to have your hood professionally painted. Have your body shop or paint facility check out the paint on your vehicle and match the paint perfectly so they can paint your replacement hood so it will match perfectly.
Once you have your replacement hood painted, you are going to need to remove the old hood and install the new one. For this, you are going to need a friend for assistance. A hood is a heavy, awkward body part that requires at least two people for the removal and installation job.
Open the hood to your vehicle and place pads or blankets over the engine and fenders to protect these areas when you lift off the old hood and install the replacement. Disconnect any wires or cables around the engine areas that may interfere with the procedure. Also disconnect the windshield-washer tubing, if present. While your assistant supports the weight of the hood, remove the hinge bolts. Then the two of you lift the hood up and away from the vehicle.
Use the reverse procedure to install the replacement hood, but don't tighten the hinge bolts completely until you've check the alignment. Visually align the hood with the fenders and grill areas. Then tighten the hood hinges.
If you ever need to remove your hood, for example for major engine or radiator work, use a dark pencil or marker to outline the hood hinges. Line up the markings upon reinstalling the hood so you can more easily re-align the hood after you have completed your work.
Should you need to re-align your hood at any other time, loosen the hinge bolts a little so you can move the hood slightly. Visually align it, then lower the hood carefully to check alignment. When satisfactory, re-tighten the bolts.


